Welcome! This page gives you a quick overview of how to use the site. Note that you can open this Help in full page mode in a separate tab by clicking the arrow top right from any page:

Top navigation menu
Use the top navigation menu, which can be found on every page, to access key features and move around the site.
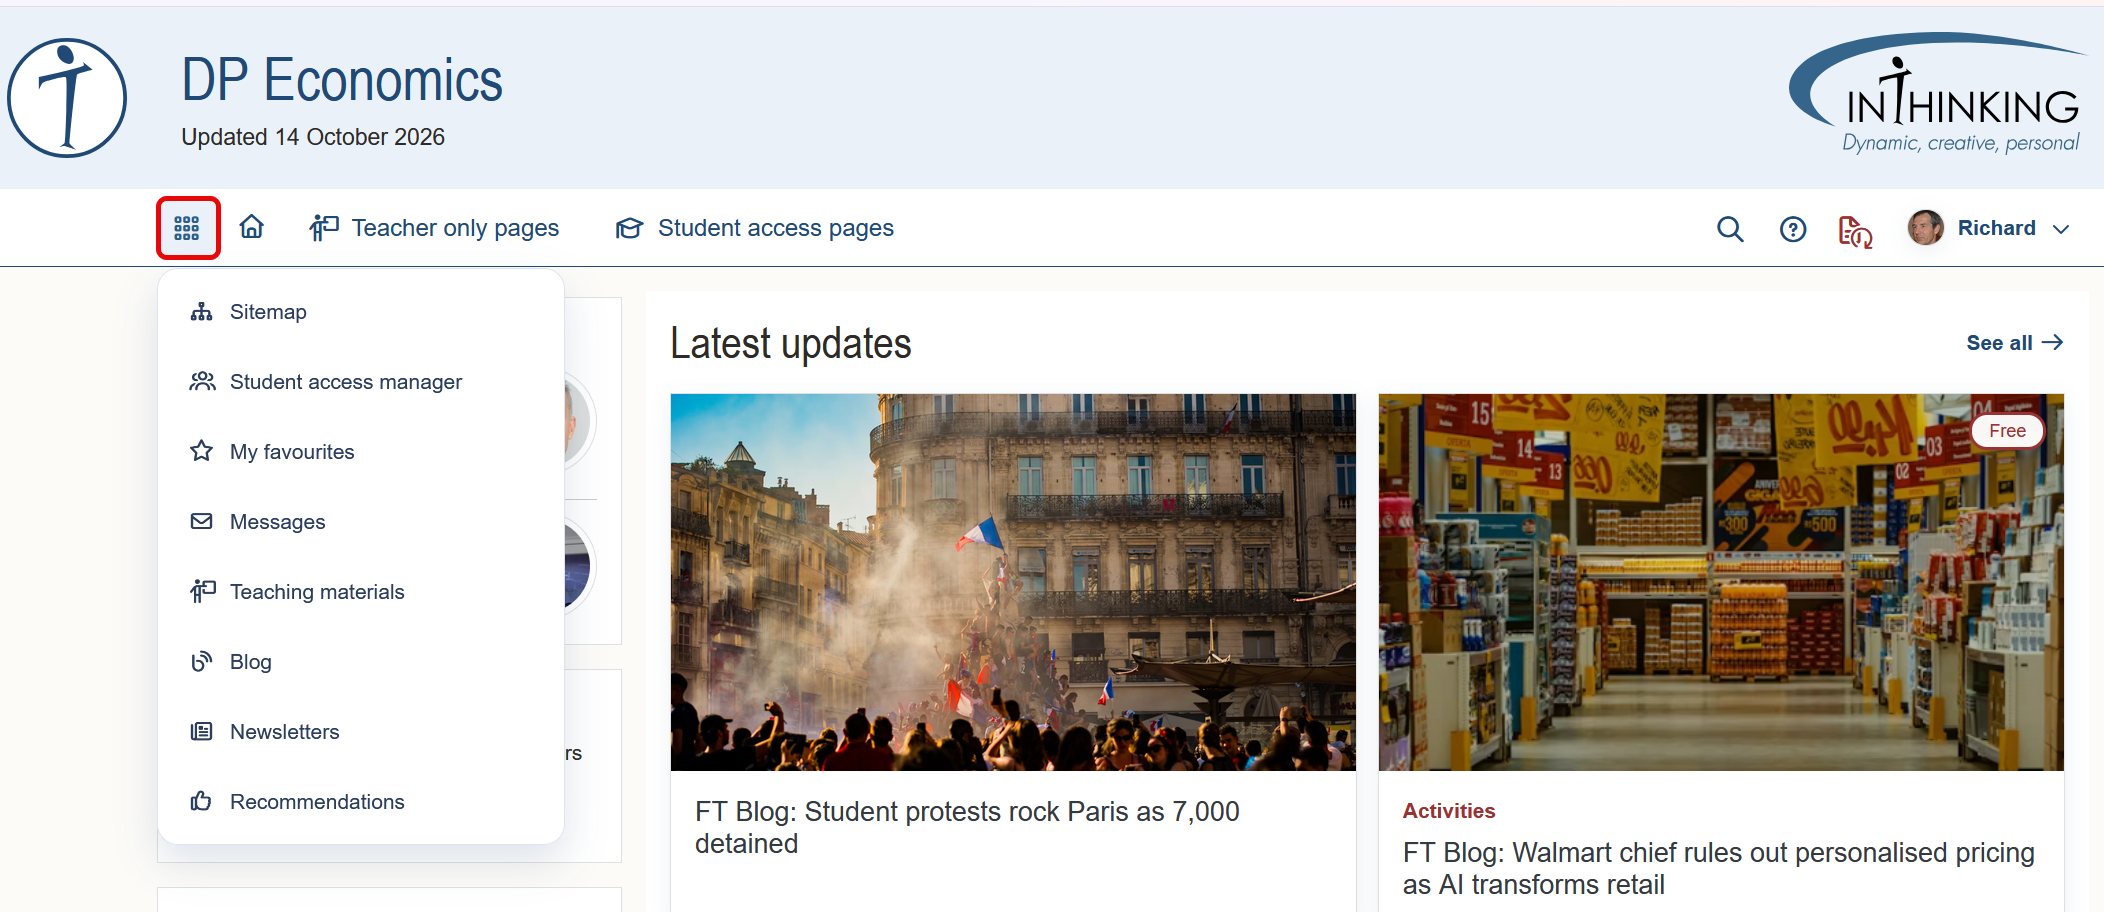
Waffle menu
The first icon on the top menu is called the waffle menu. Click it to open the drop-down and see the options. The first item, Sitemap, will give you a quick overview of how the site is structured.
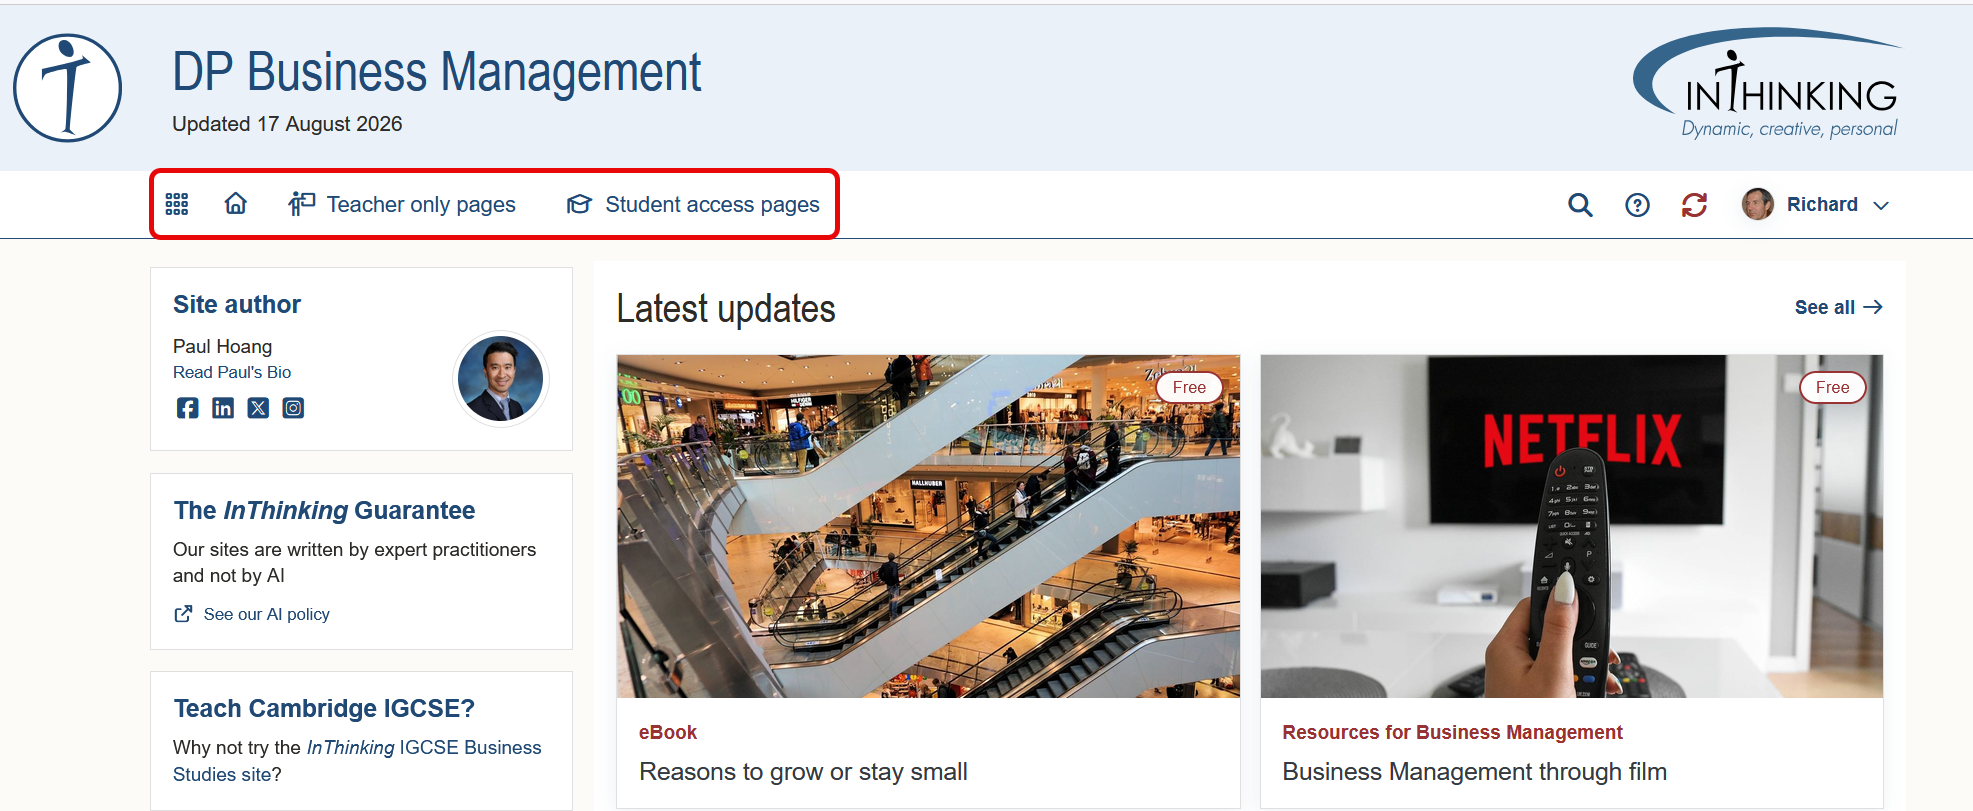
Teacher only & Student access pages
With the exception of Heads and Coordinators and Librarians (which do not have Student access), there are two main content buttons on the top menu: Teacher only pages and Student access pages.
- Teacher only pages typically give advice on such things as: the nature & structure the course; promoting critical thinking; differentiation; the role of AI; assessment, resources, etc. (We are called InThinking for a reason, and we pride ourselves on being at the cutting edge of pedagogy.)
- Student access pages typically include the following sections: eBook; Activities; Assessment; Review/revision; DP essentials. Taken together, they give you and your students everything you need to promote real understanding and achieve exam success.
(Note that the headings “Teacher only pages” and “Student access pages” are headings that contain pages; but they are not themselves pages that can be opened.)
Favourite, highlight, annotate
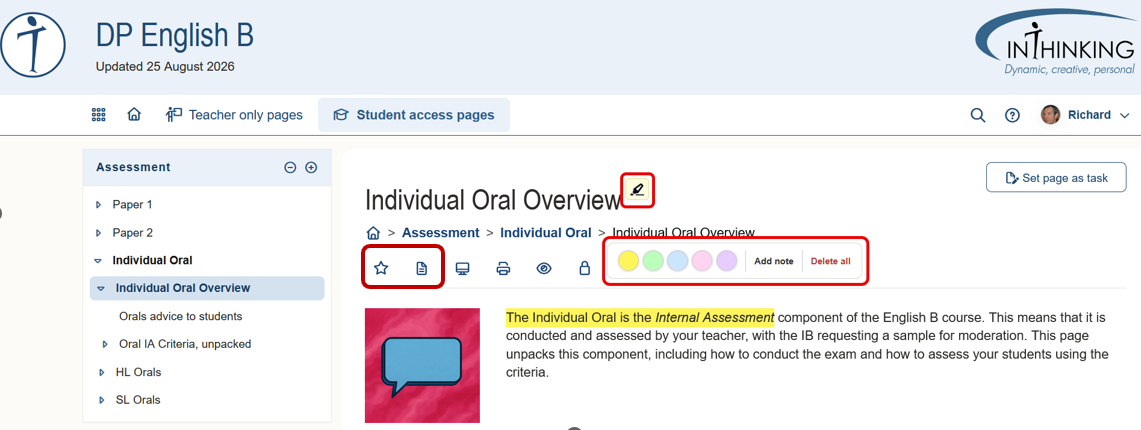
You can favourite or add notes to a page by clicking the relevant icon - star or note - on the in-page menu. Access your favourites via the waffle menu.
You can also highlight and annotate text by highlighting it, and then clicking the highlight icon that appears, choosing your preferred highlight colour, and optionally adding a note. (The icon next to the title indicates that the page contains highlights.)
Giving students access
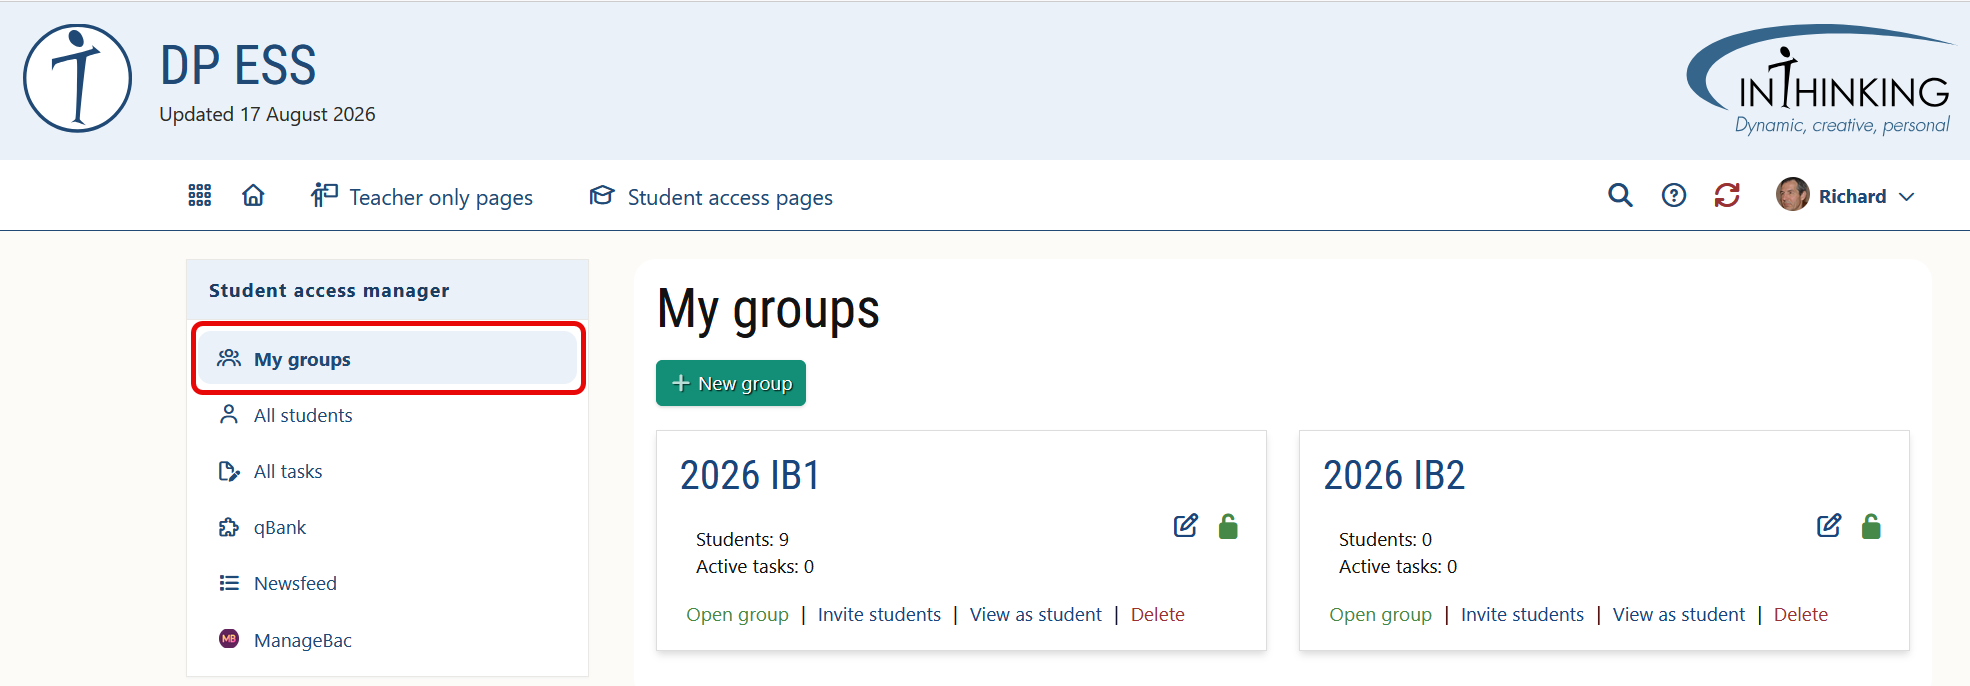
To give students access to the site, you need to create a group and invite them to join it. To do this, click the second item on the waffle menu, Student access manager. This will take you directly to My groups where you can create your first group or view existing groups.
Student hub
Once you have created and populated groups, your students can access student pages through their own interface called the InThinking Student Hub, which can be found at www.student.thinkib.net Logging in will take them to their dashboard where they can see all the classes they have joined, access student pages, and keep track of their tasks.
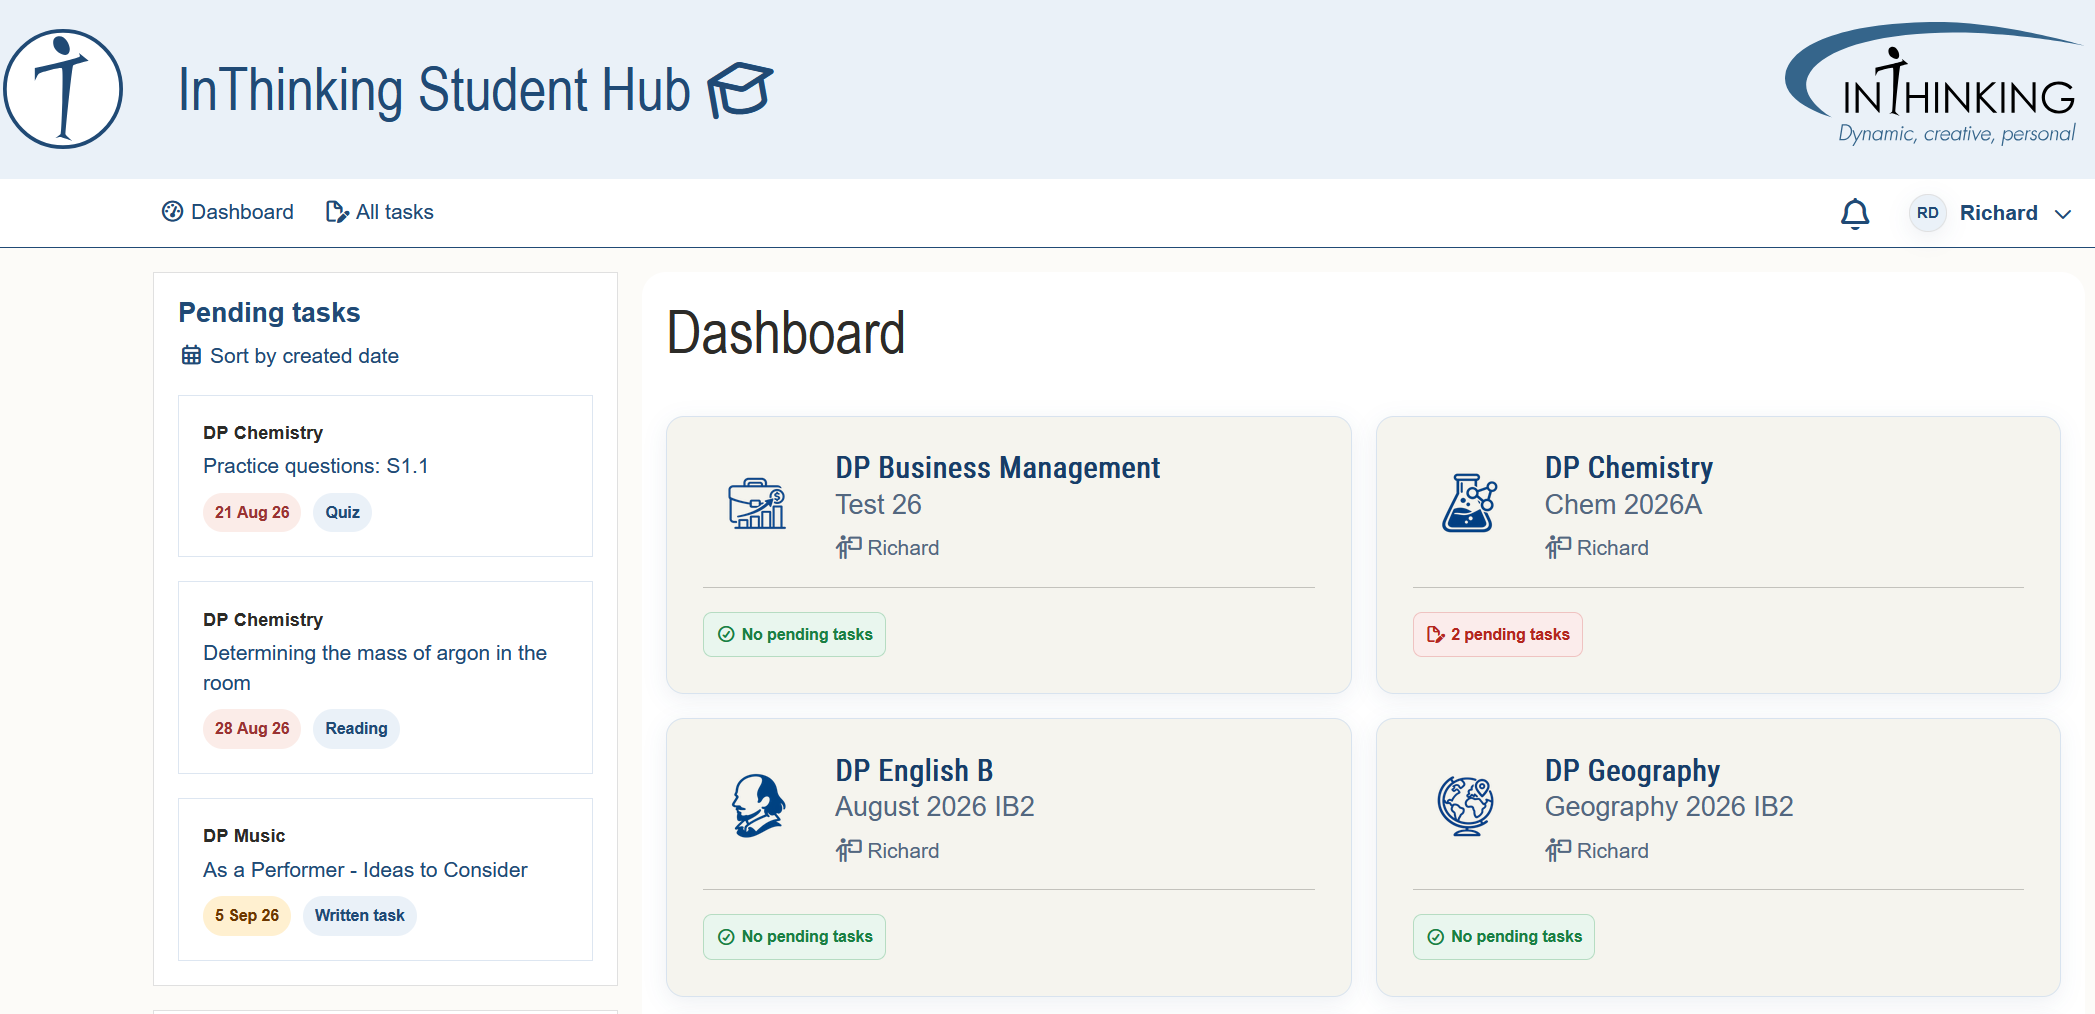
Note:
- If you log in to student.thinkib.net with your teacher email & password, you will be automatically redirected to thinkib.net Likewise if a student tries to log in to thinkib.net, they will be automatically redirected to student.thinkib.net
- All of the pages on the student interface can be found on the teacher interface in the “Student access pages” section.
- For a student-eye view of how the student interface works (e.g. receiving, completing, and submitting tasks), we recommend that you set up a test group and invite yourself to join it using a second email address.
Controlling pages
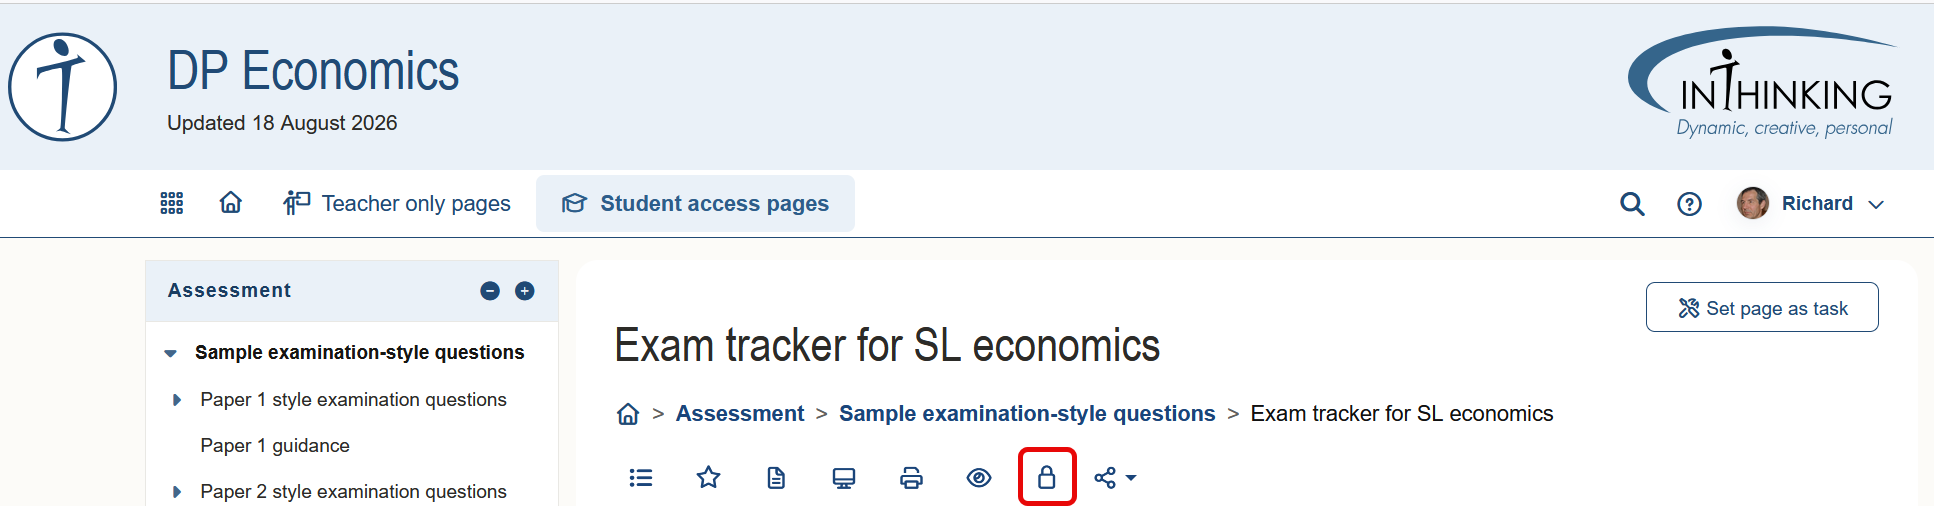
Some student pages are initially ON (i.e. accessible) by default, and others - usually those with tasks - are initially OFF by default. But, as a teacher, you have full control over which student pages each group can see. You can switch a page on or off for a group from the page itself by clicking the padlock icon on the in-page menu. Alternatively, you can control pages by opening the relevant group in the Student access manager and then opening the Page manager for that group.
Setting tasks
You can set your student groups various kinds of quiz, reading, writing, discussion, and audio tasks. Such tasks can be sent, completed, and graded online. (Some - e.g. multiple choice quizzes - are graded automatically). Grades can be collated in our online gradebook.
You can set a page as a task for a group directly from the page itself by clicking the “Set page as task” button at the top right of the page (see screenshot above). Alternatively, you can set tasks by opening the relevant group in the Student access manager and then opening the Task manager for that group.
Learning modes
Our interface offers three learning modes:
1. Self study mode A page is made available to students, but not set as a task. Students can practice quizzes & written tasks and see answers. No information is sent to the teacher.
2. Task mode A page is set as a task by the teacher. Student work is monitored, and grades are collated in the online gradebook.
3. Exam mode A page is set as a task by the teacher with a time limit for completion. If the student leaves the exam mode window, their teacher is notified.
(Note: we recommend that you keep pages that you plan to set as tasks switched OFF until such time as you set them. This ensures that students do not have advance access to the answers.
For more on this, see the page Self-study, task, & exam mode.
Reports
You to analyse information about tasks, grades, and students in three ways:
1. Group task report Click on a task name in any view for a breakdown of results by question and by student.
2. Student task report Click on a grade in any view for details of the student's performance in that task.
3. Student progress report Click on a student name in any view to open a progress report for that student detailing all of their activity and grades.
For more on this, see the page Reports.