Once you have created one or more groups, the "My groups" page will be populated by group cards. Each card has a blue “Open group” button followed by five icons: Invite students; View as student; Rename group; Lock group; Delete group.
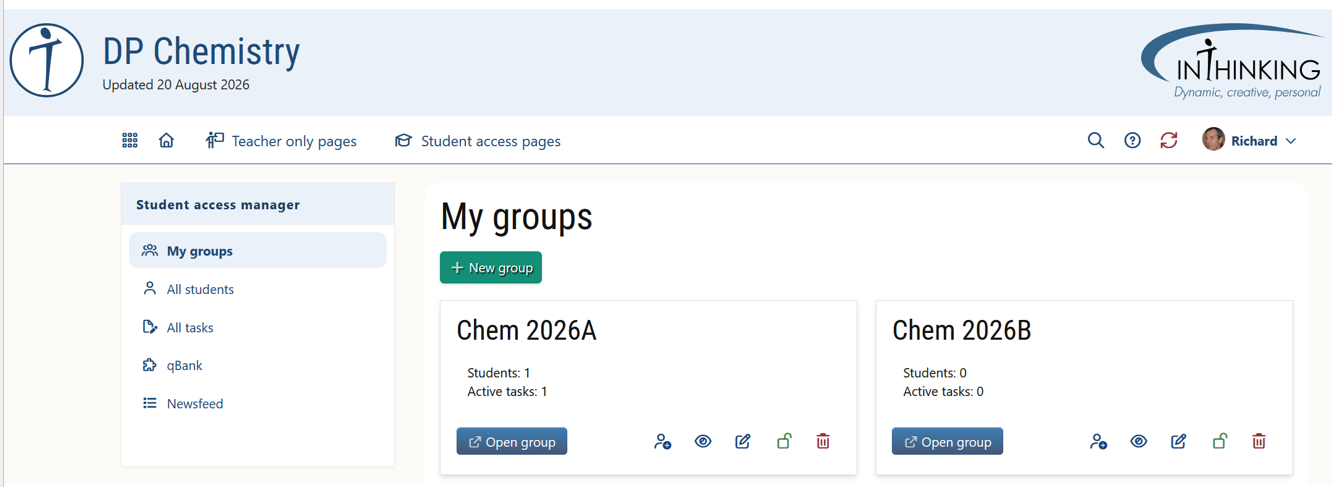
1. Open group
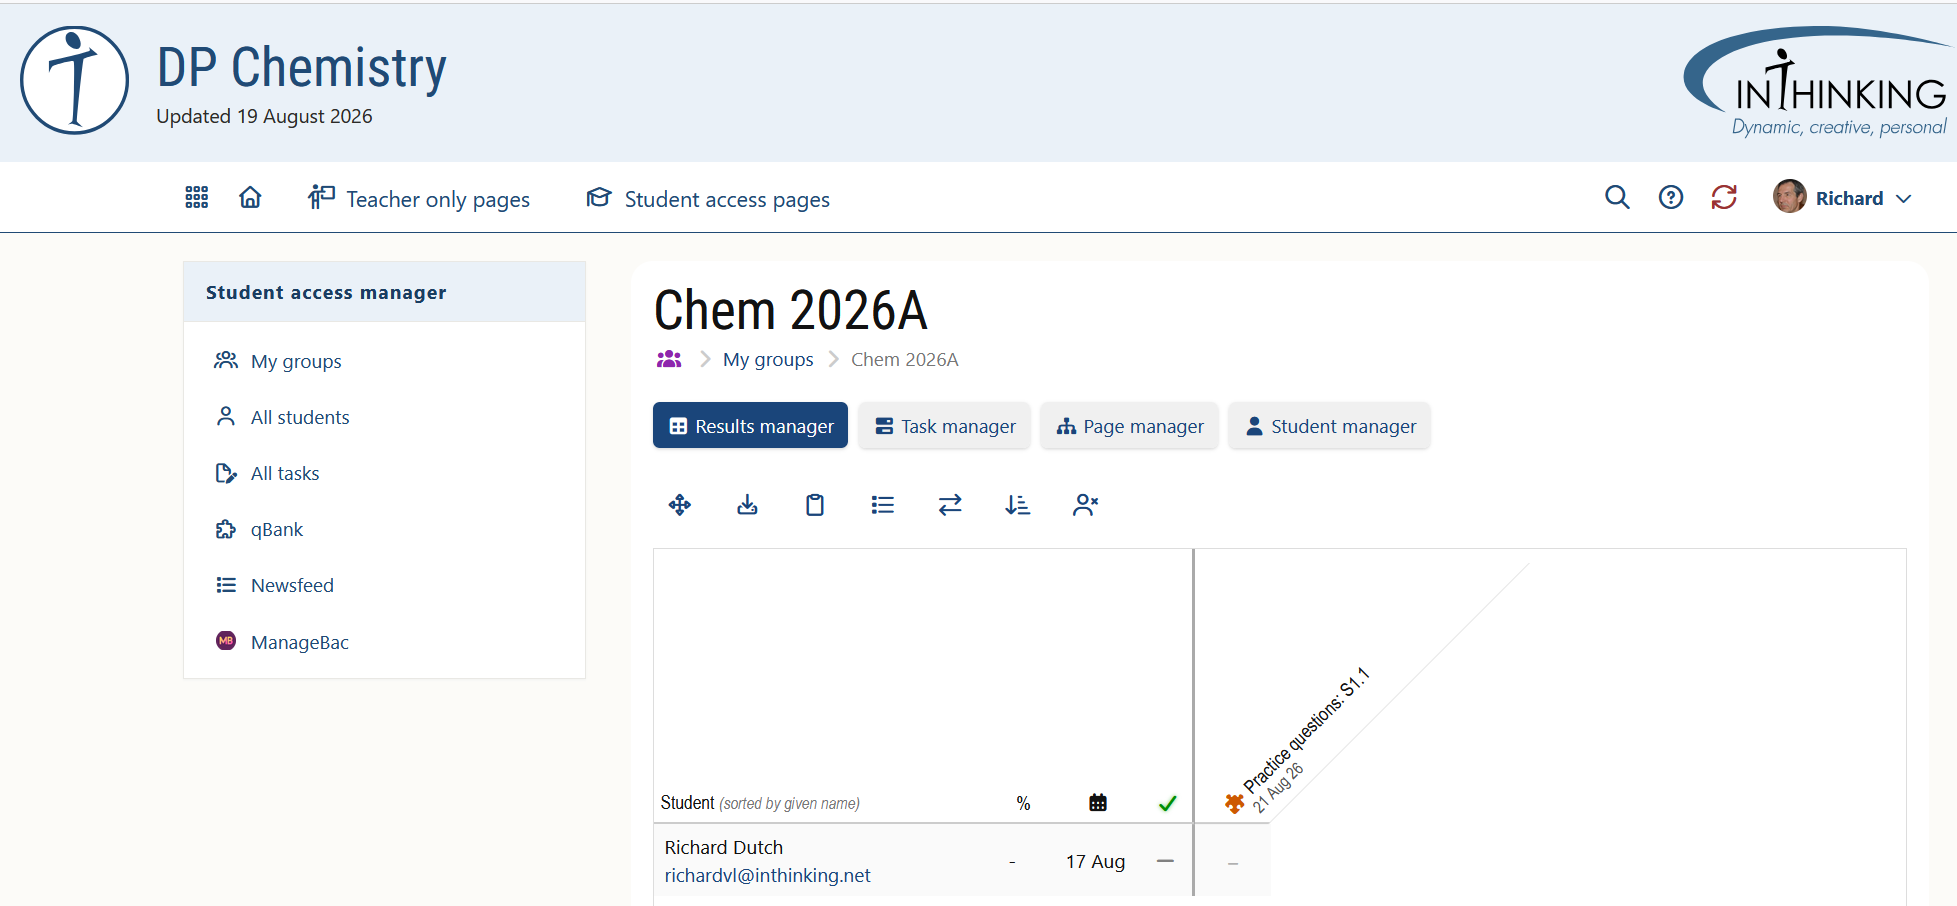
When you open a group, you are taken by default to the Results manager, an online grade book. Note also the other manager buttons which allow you to set tasks, switch student pages ON and OFF, and add, delete, and move students between groups.
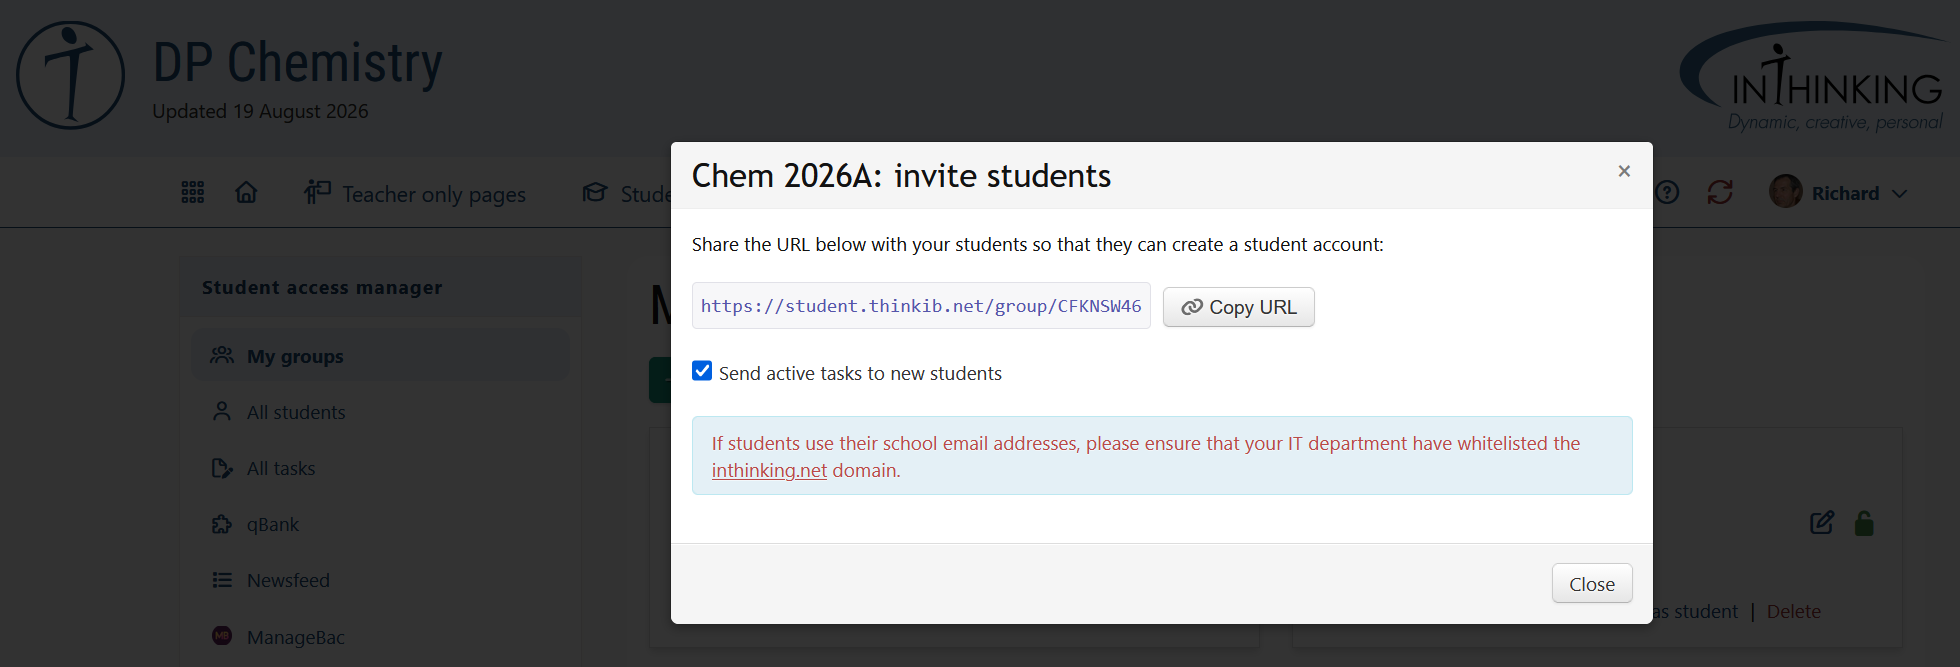
2. Invite students
You can invite students to join your group at any time by clicking this button and sending the invitation URL to the relevant students.
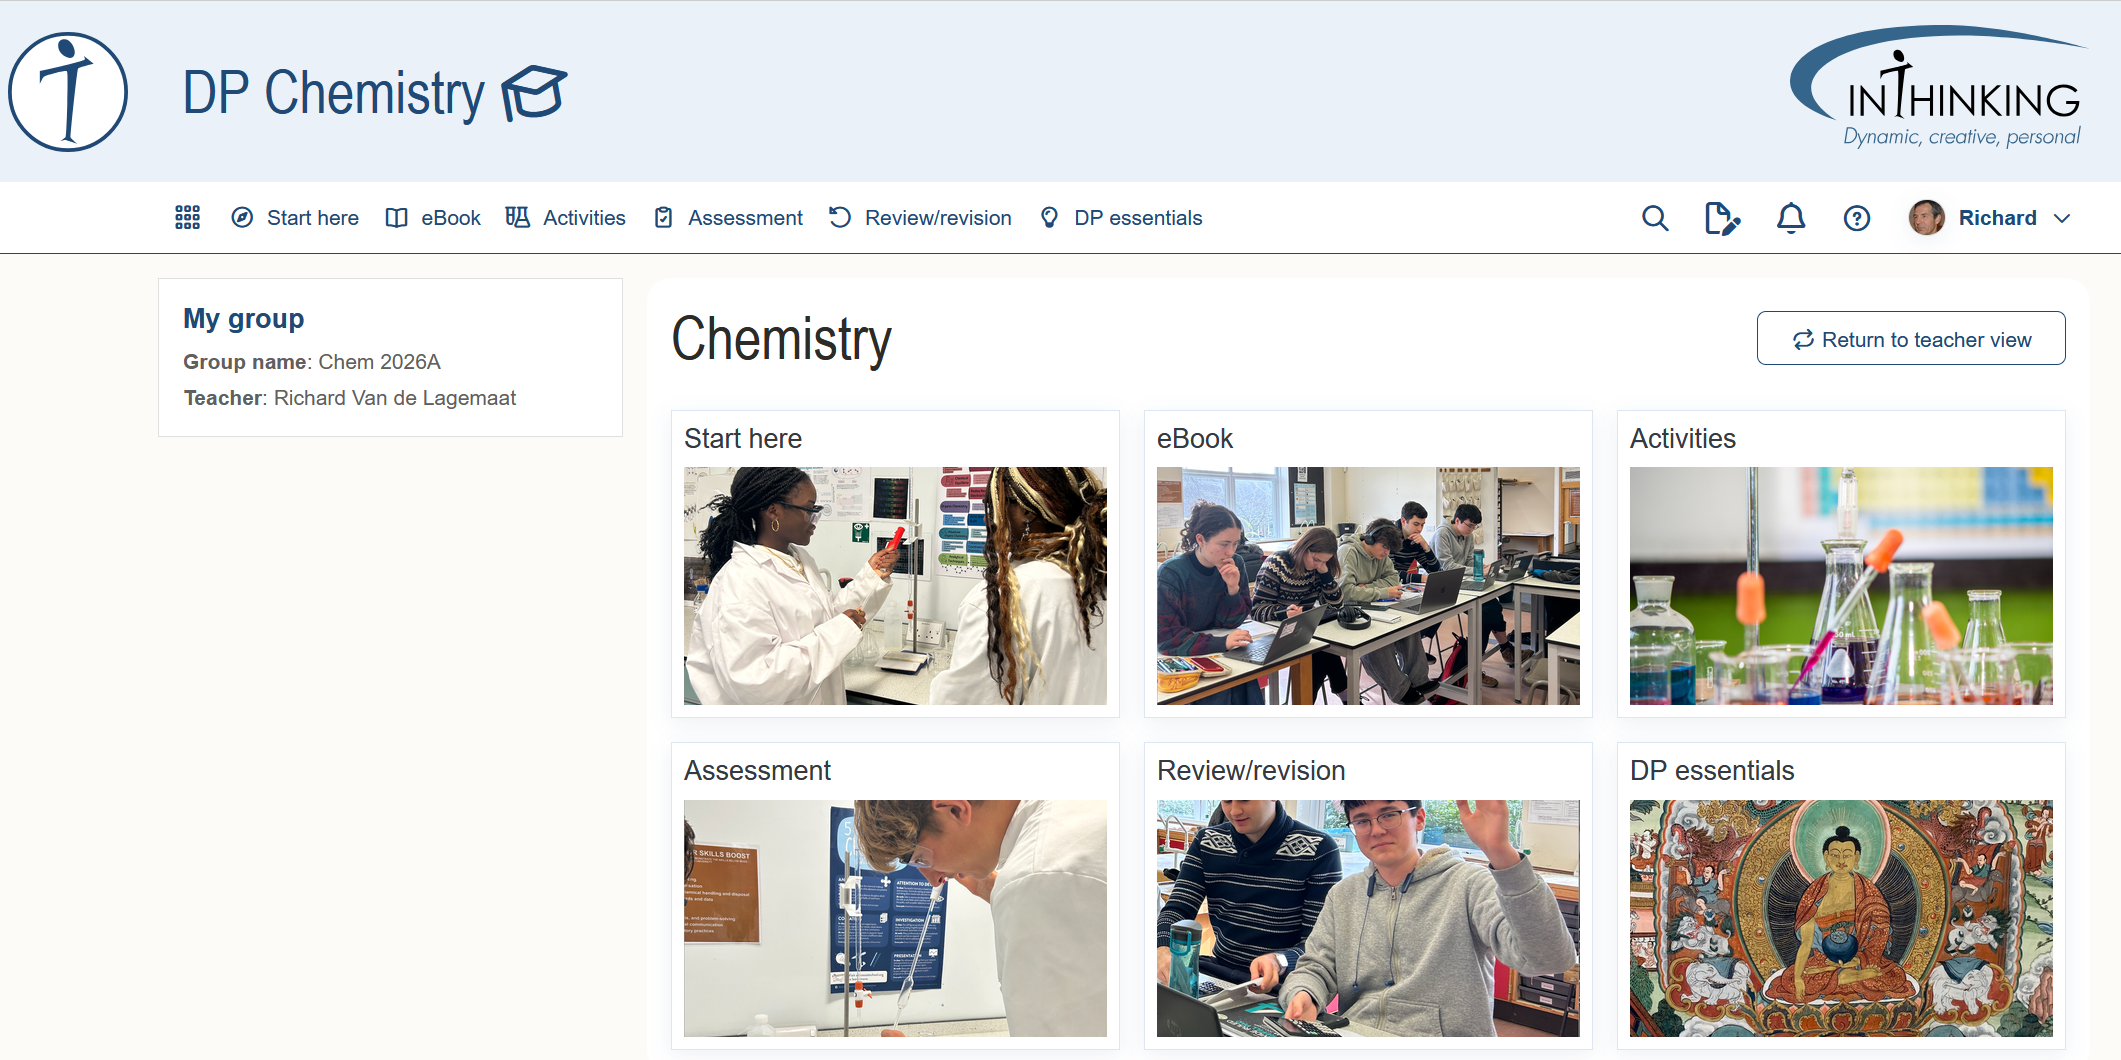
3. View as student
If you click this link, it will take you to the Student pages for the relevant group at www.student.thinkib.net. You will then be able to see exactly what students see - selection of pages, layout etc. Click Teacher view to go back to the teacher view.
4. Rename group
Click the pencil icon to change the name of a group.
5. Lock group
Click the padlock icon in order to prevent students from joining it with the activation link. The padlock icon with change to red colour indicating the group is locked.
6. Delete group
Click this to delete a group. You will have the option to download the grades for a group before you delete it. Once you have deleted a group, the action cannot be reversed.