Creating your first group
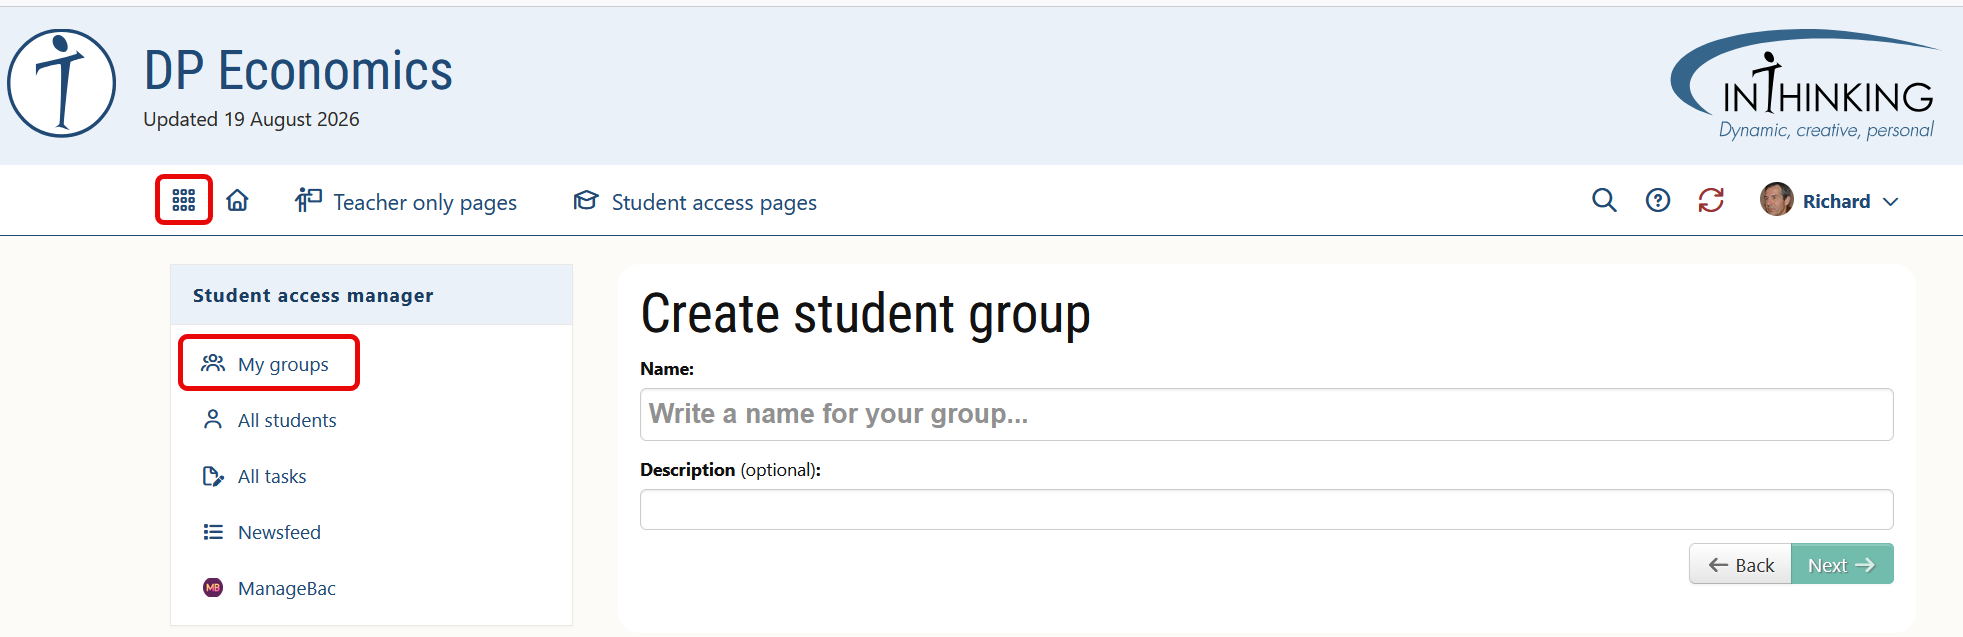
When you click on the “Student access manager” link from the waffle menu in the top navigation, you are taken directly to “My groups”, where you are invited to create a student group. Write a name (and an optional description) for the group, and then click the green "Next" button. An invitation URL will be generated which you should send to students for that group. When the click the URL, they can create their own student account with a user name and password. As soon as a student creates an account, their name will appear in the group.
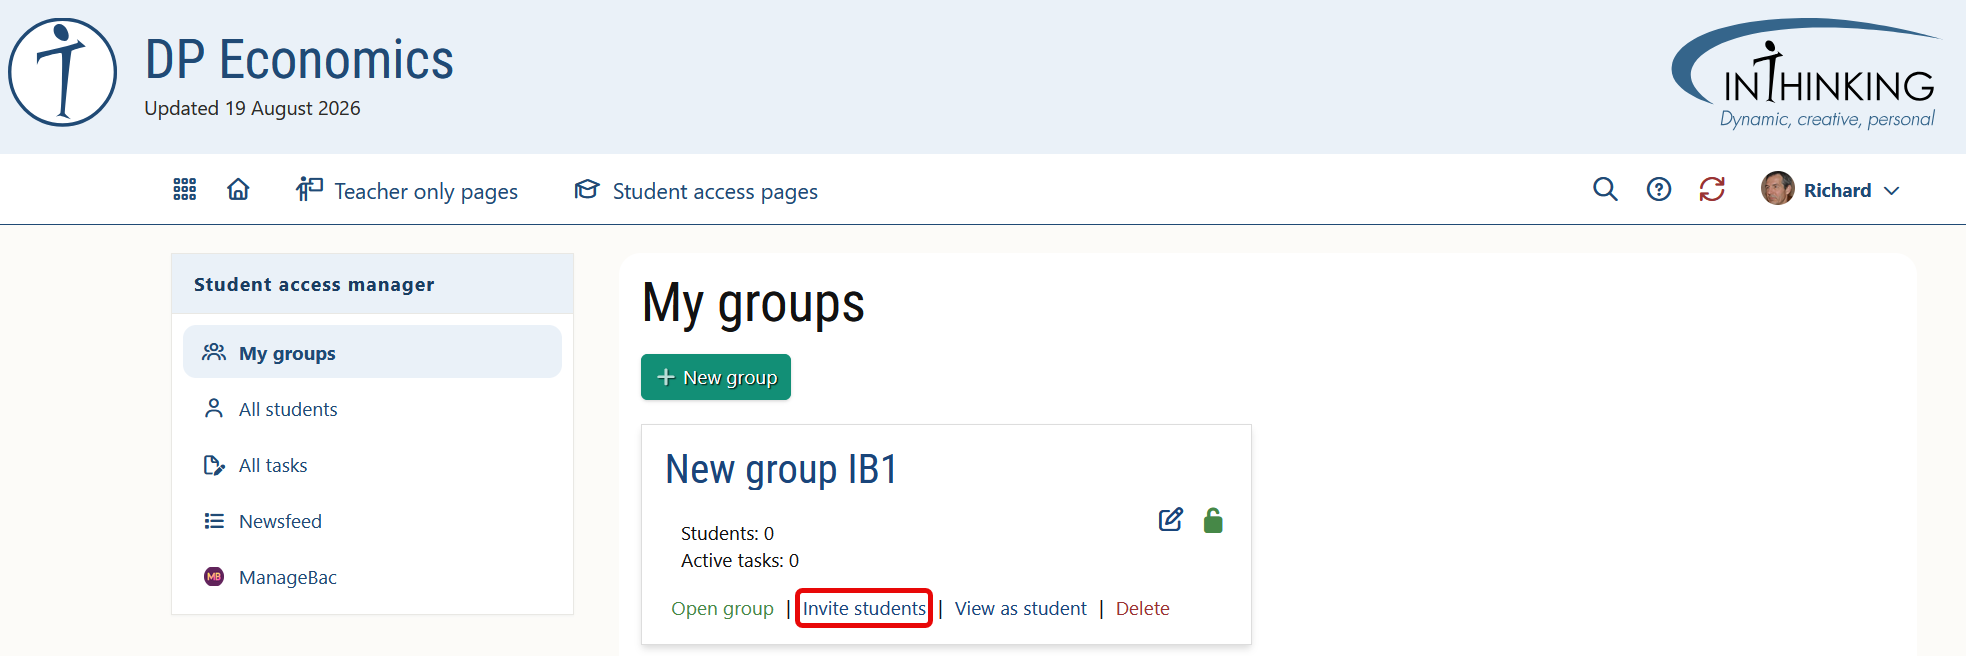
You can invite students to join a group at any time from the Student manager for the relevant group.
Groups cannot currently be shared by two teachers You can add a second teacher as a “student” to a group so they can see what is happening. However, to be able to set tasks etc. they will need to create their own group with the same students.
What students see
When students click on the activation link, they will see the pop-up window below. They will be prompted to create a new account if they have not one already or log in using an existing one.

ManageBac
If your school uses ManageBac, you can log into ThinkIB with your ManageBac account and import your classes and students. Note that your ManageBac email account must match your ThinkIB one.