2. Student Access: setting assignments

Once you have given your students access and they have signed themselves up, not only can they access the pages you allow them to see, but you can also set assignments. An 'Assignment' is a task set by the teacher.
When a student completes an assignment, the outcome is recorded in the teacher's mark book automatically.
This page shows you how to set up an assignment within the student access of the InThinking History website.
*Note: This help page is only for teachers using the student access who have already set up accounts for a group of their students. If you have not yet set up student accounts for your students follow the instructions here: 1. Student Access: setting up student groups
Step-by-step instructions to set up an assignment
Step 1. Open up ‘My groups’ in Student manager
Go to Student Access in the ‘waffle’ menu on the left of the screen.
Then click on ‘My Groups’
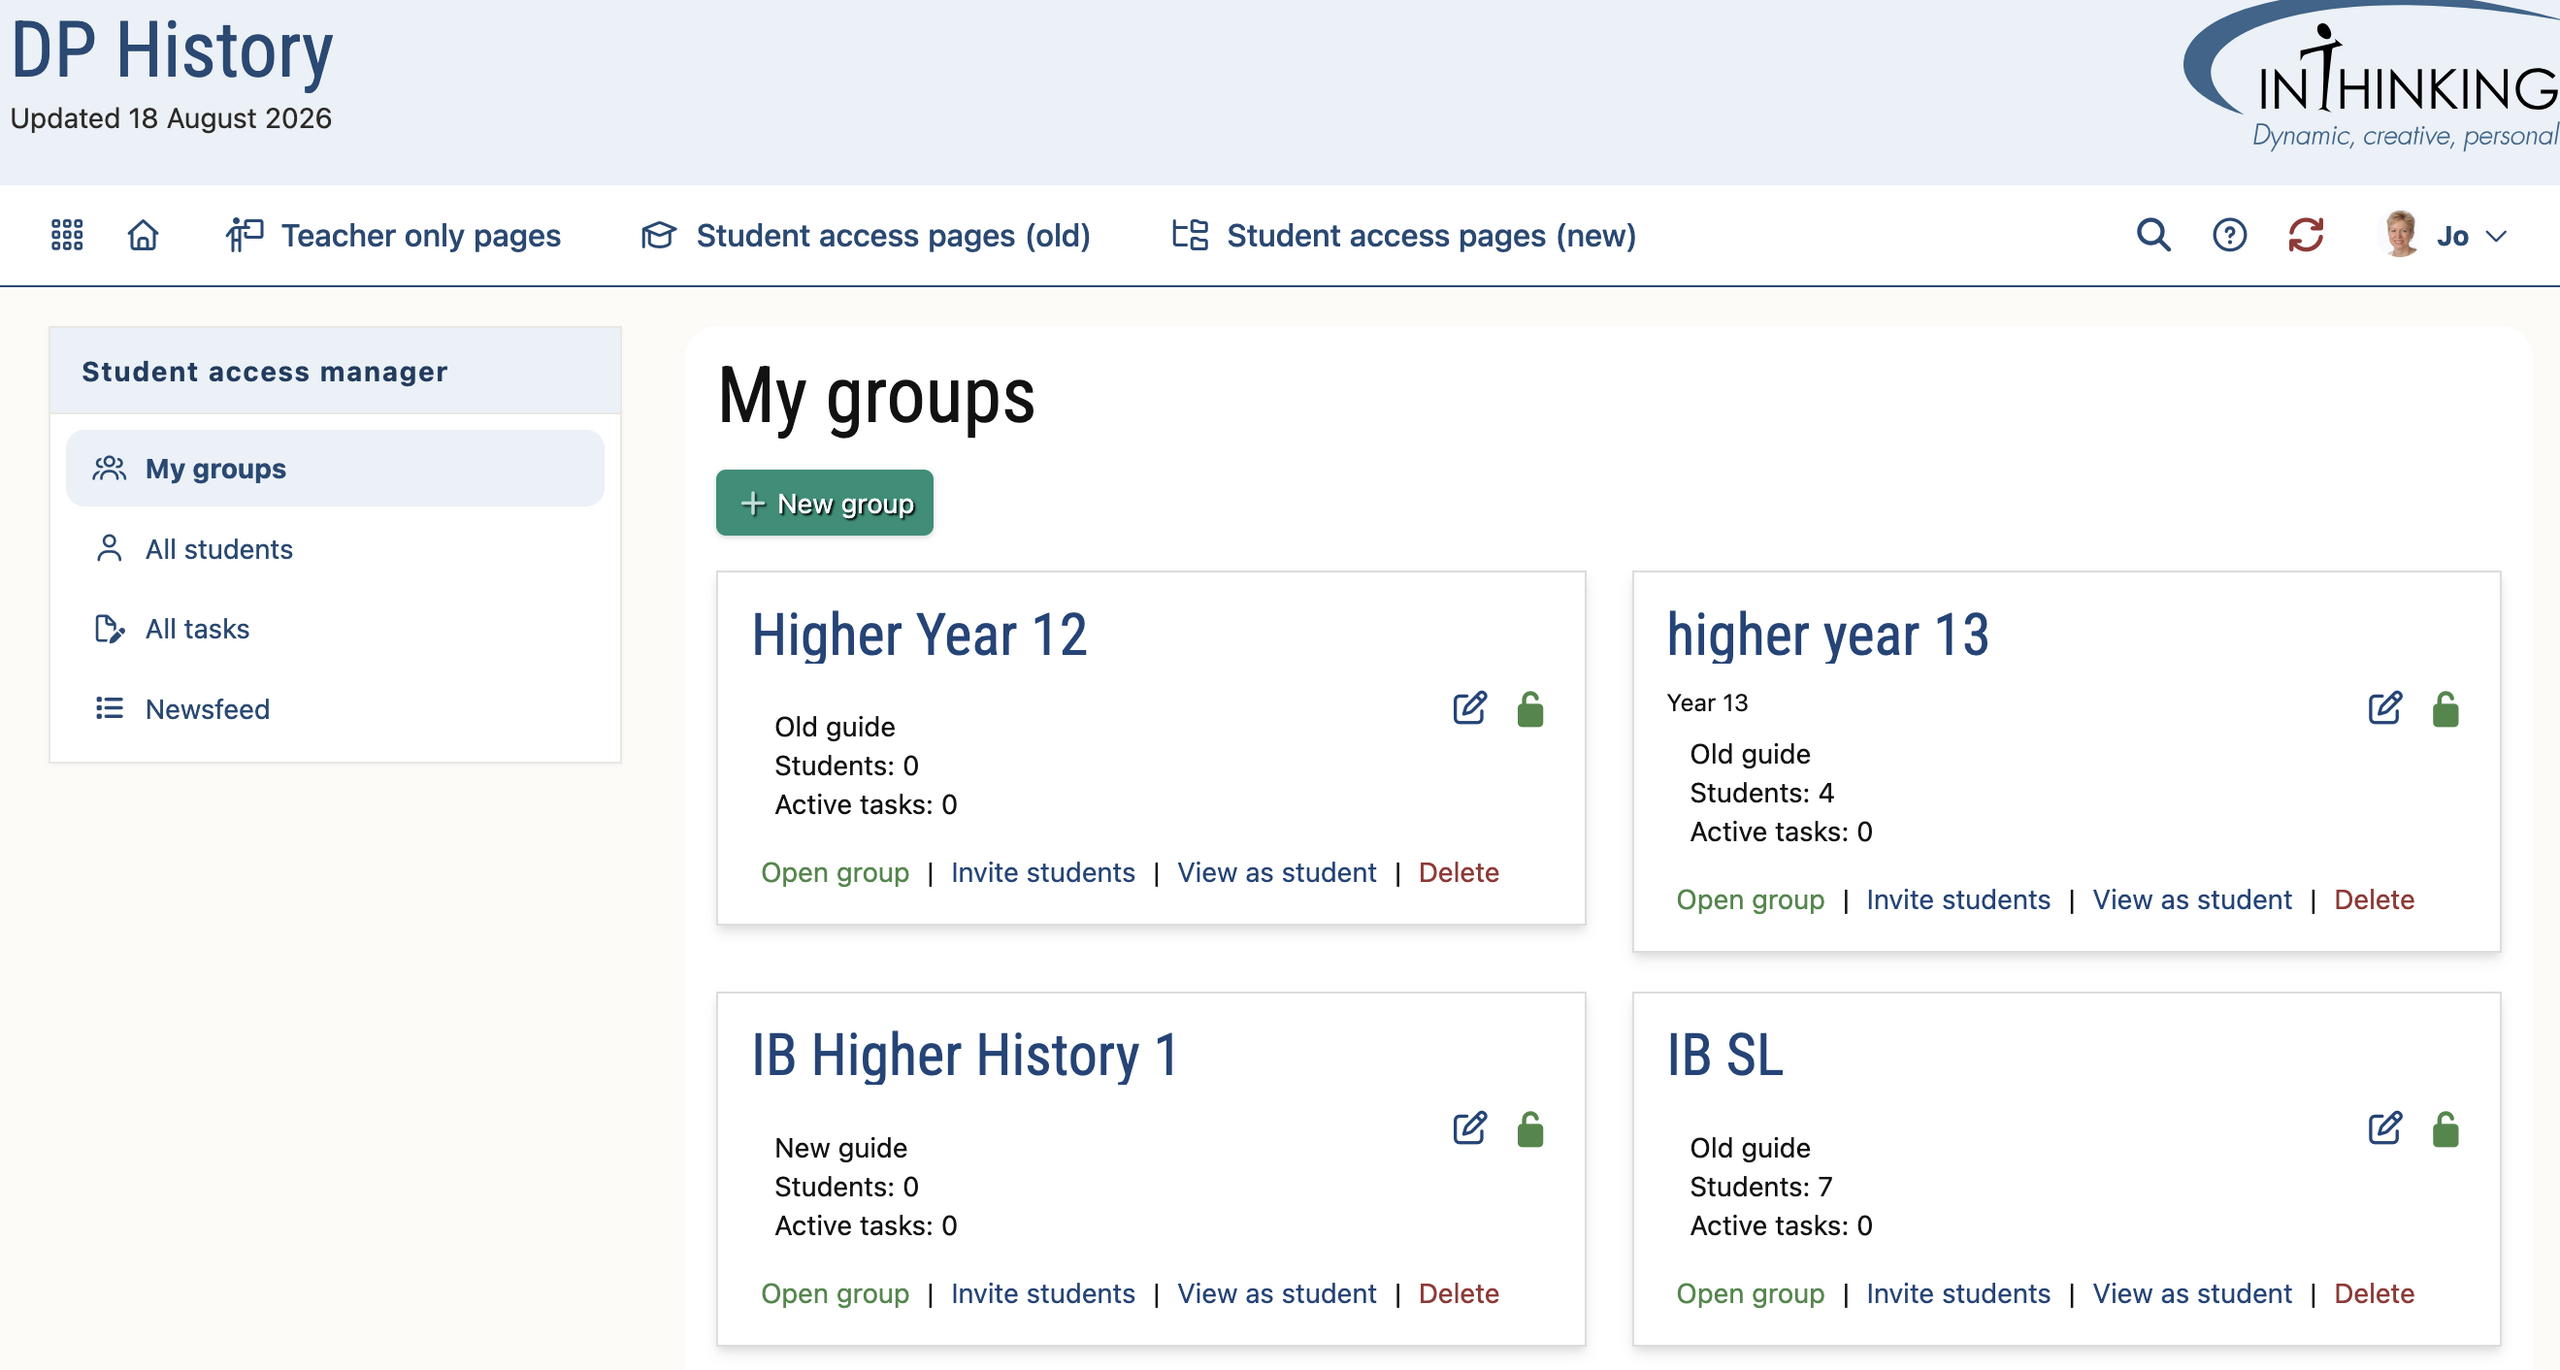
Step 2. Click the group you want to set the assignment for
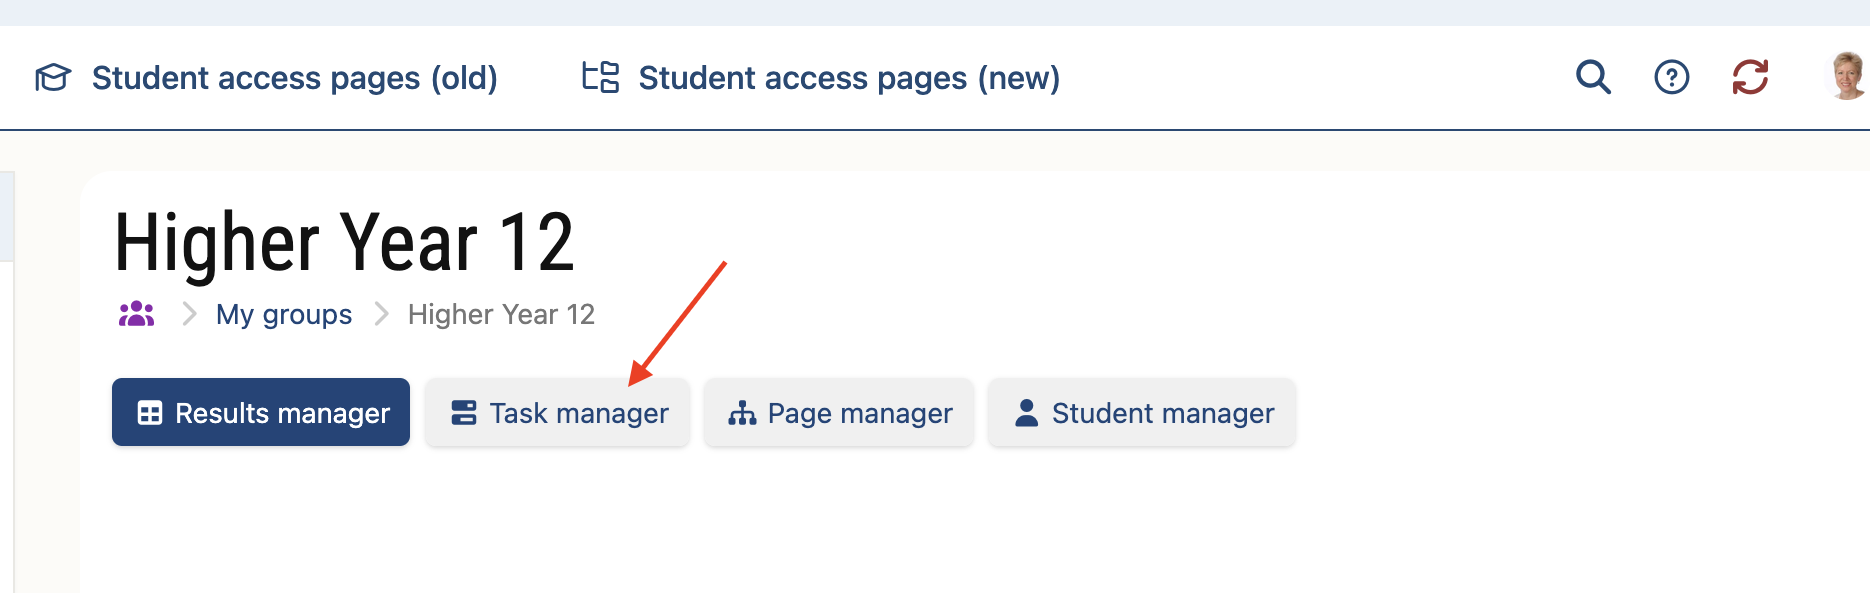
Step 3. Open up the "Task manager"
'My group' opens up with 'Results manager' by default so you need to change it to 'Task manager'.
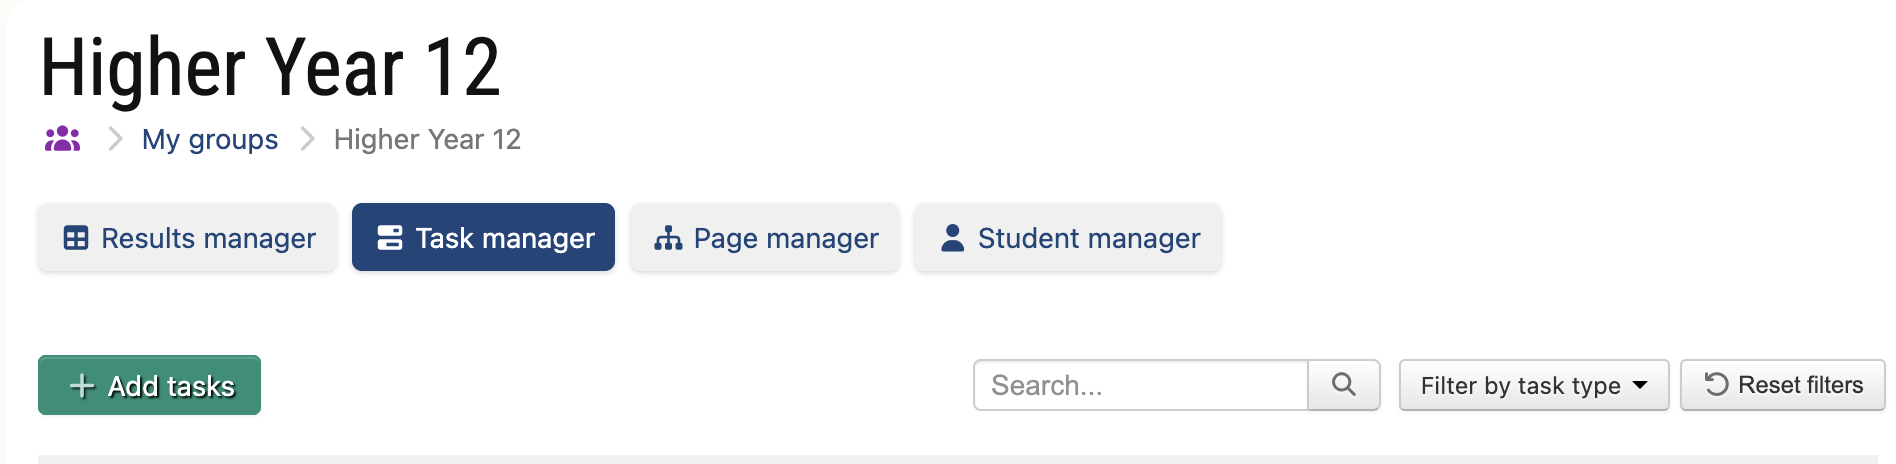
Step 4. Click on the green box '+ Add task'
You will be able to set any page for students to work through:
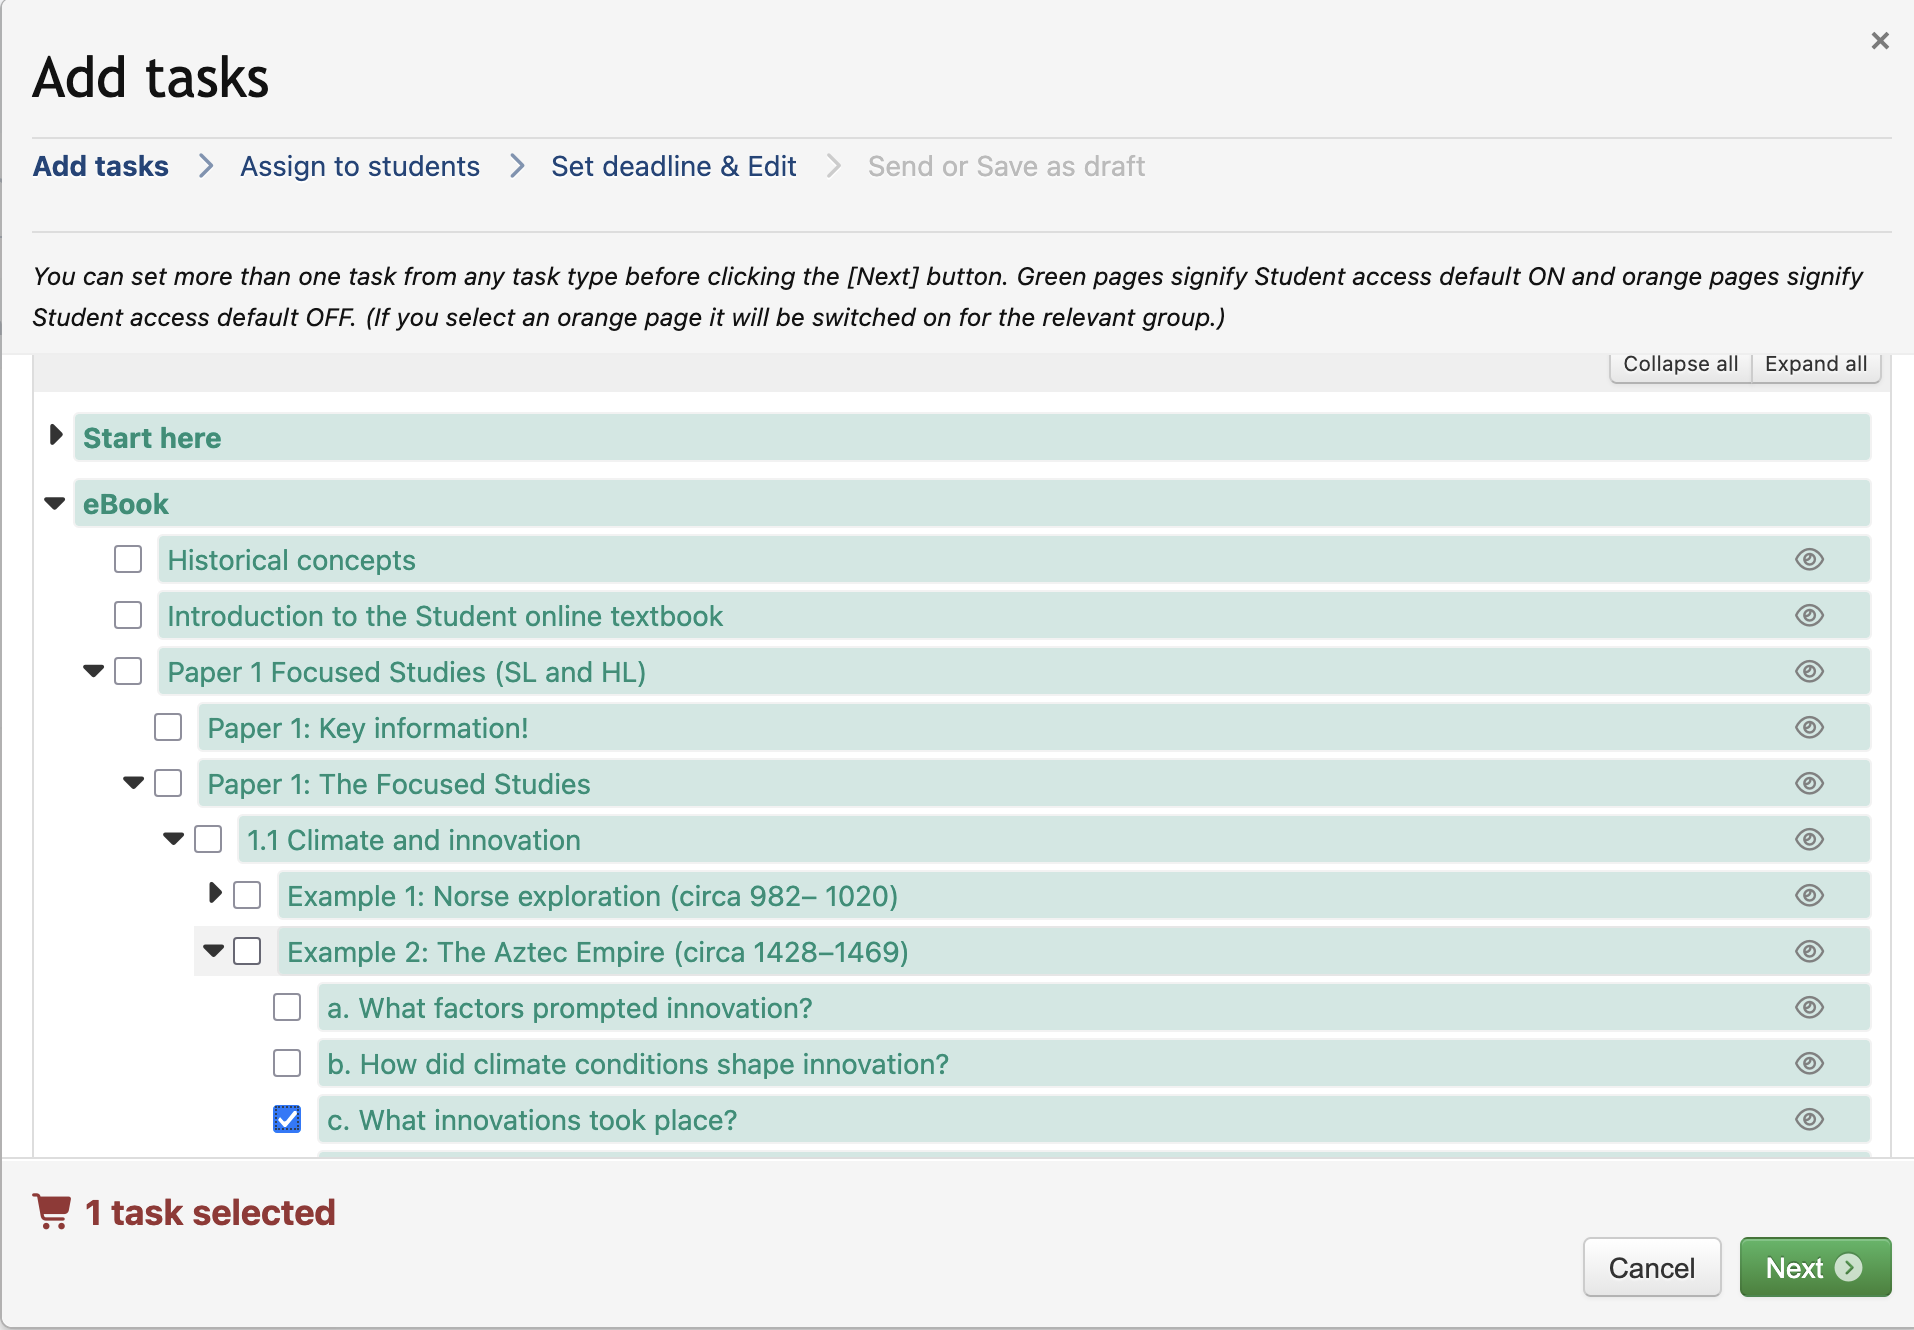
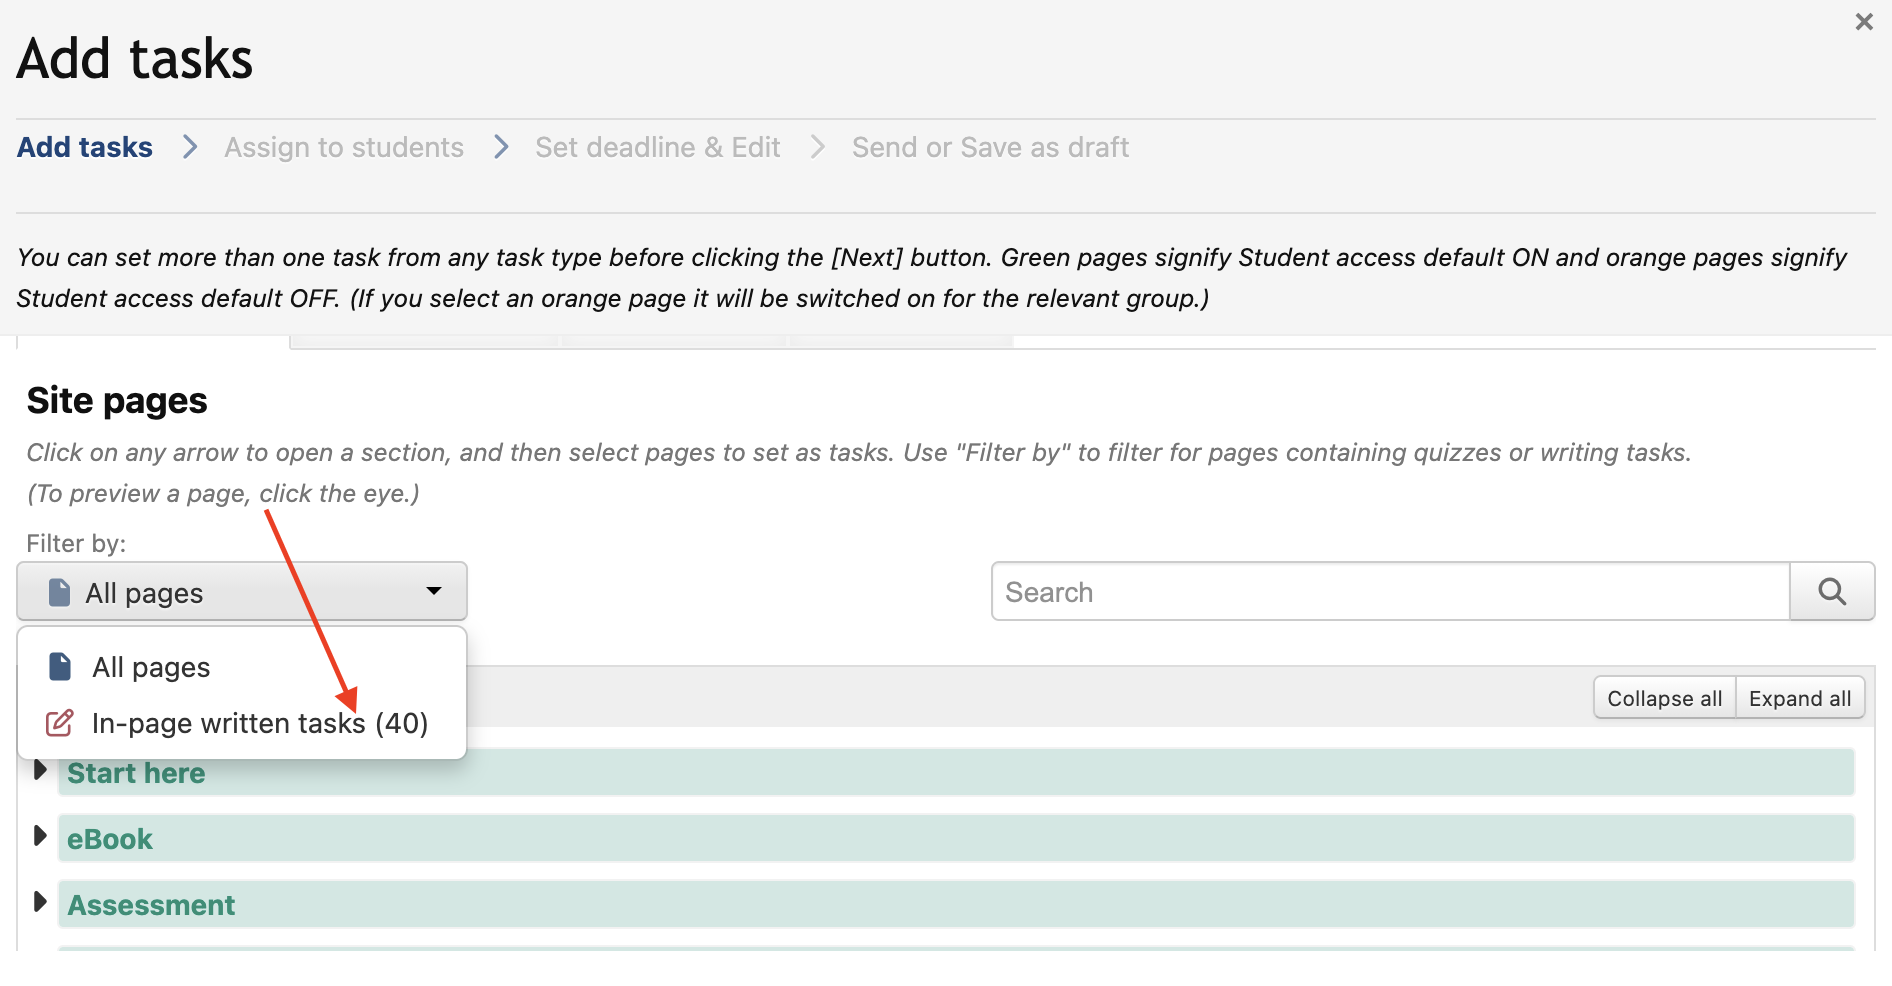
Under the heading Site pages, you can also filter the pages to see those with the in page tasks which students can answer online.
Step 6. Set a deadline for the task and edit (if necessary)
After clicking on next you are asked which students you wish to assign the task to. Once you have selected the students press next again and you will be asked to set a deadline for the task. If you wish you can also add some instructions.
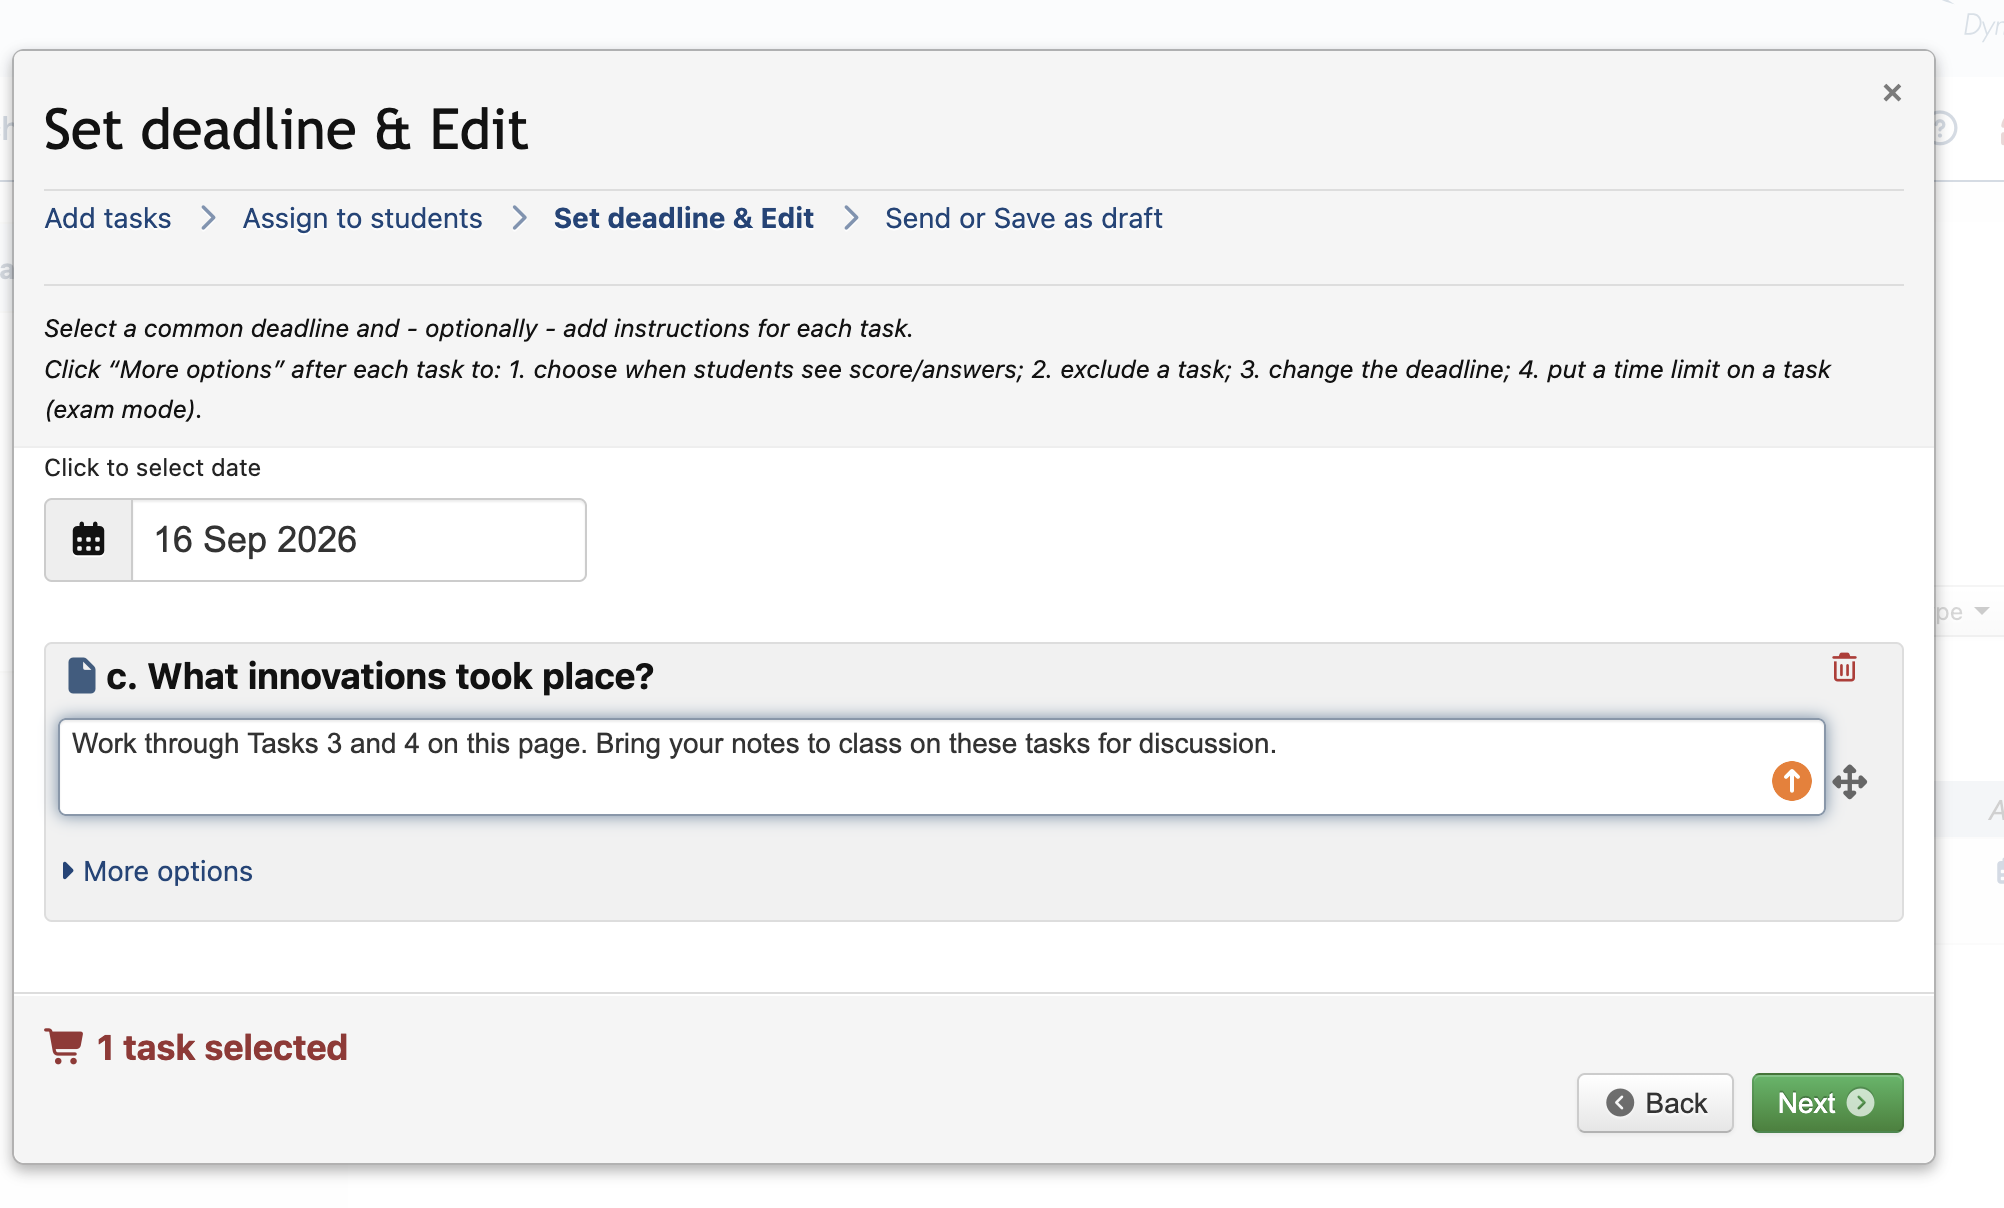
If you click on ‘More options’, you can choose the ‘results’ option and also set up exam mode and set a time for the task.
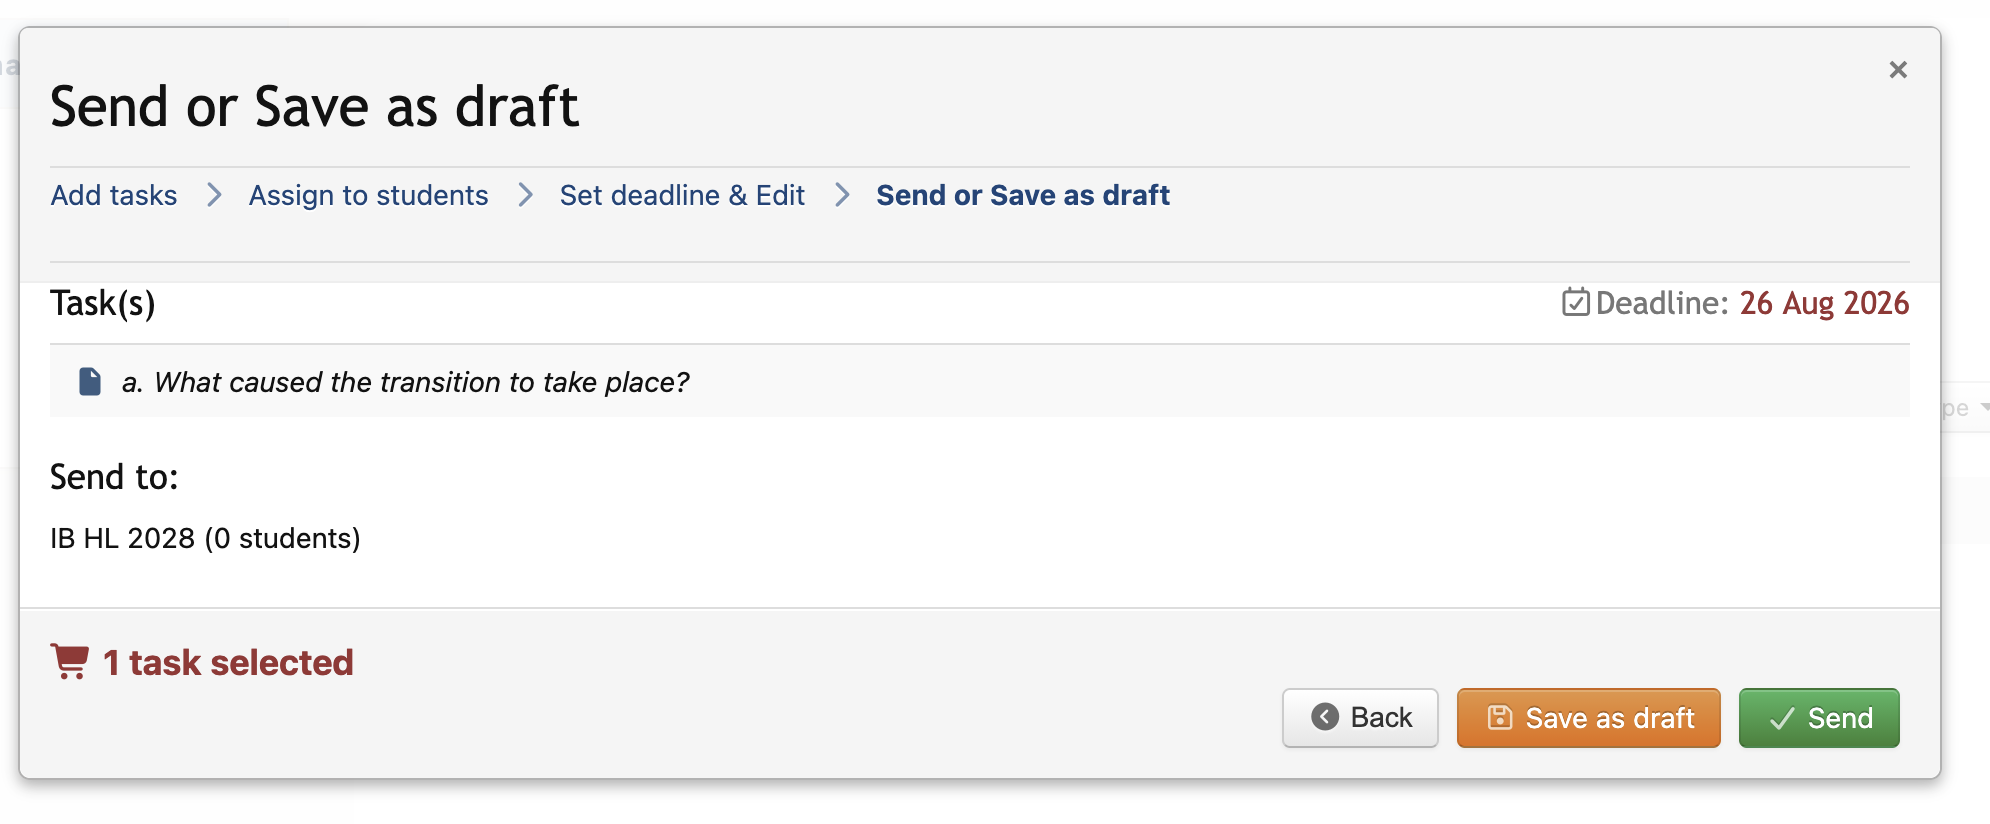
Step 7. Send instructions to the students
*Note that 'Send' means send to their individual Thinkib student website - it does not mean send to their e-mail address.
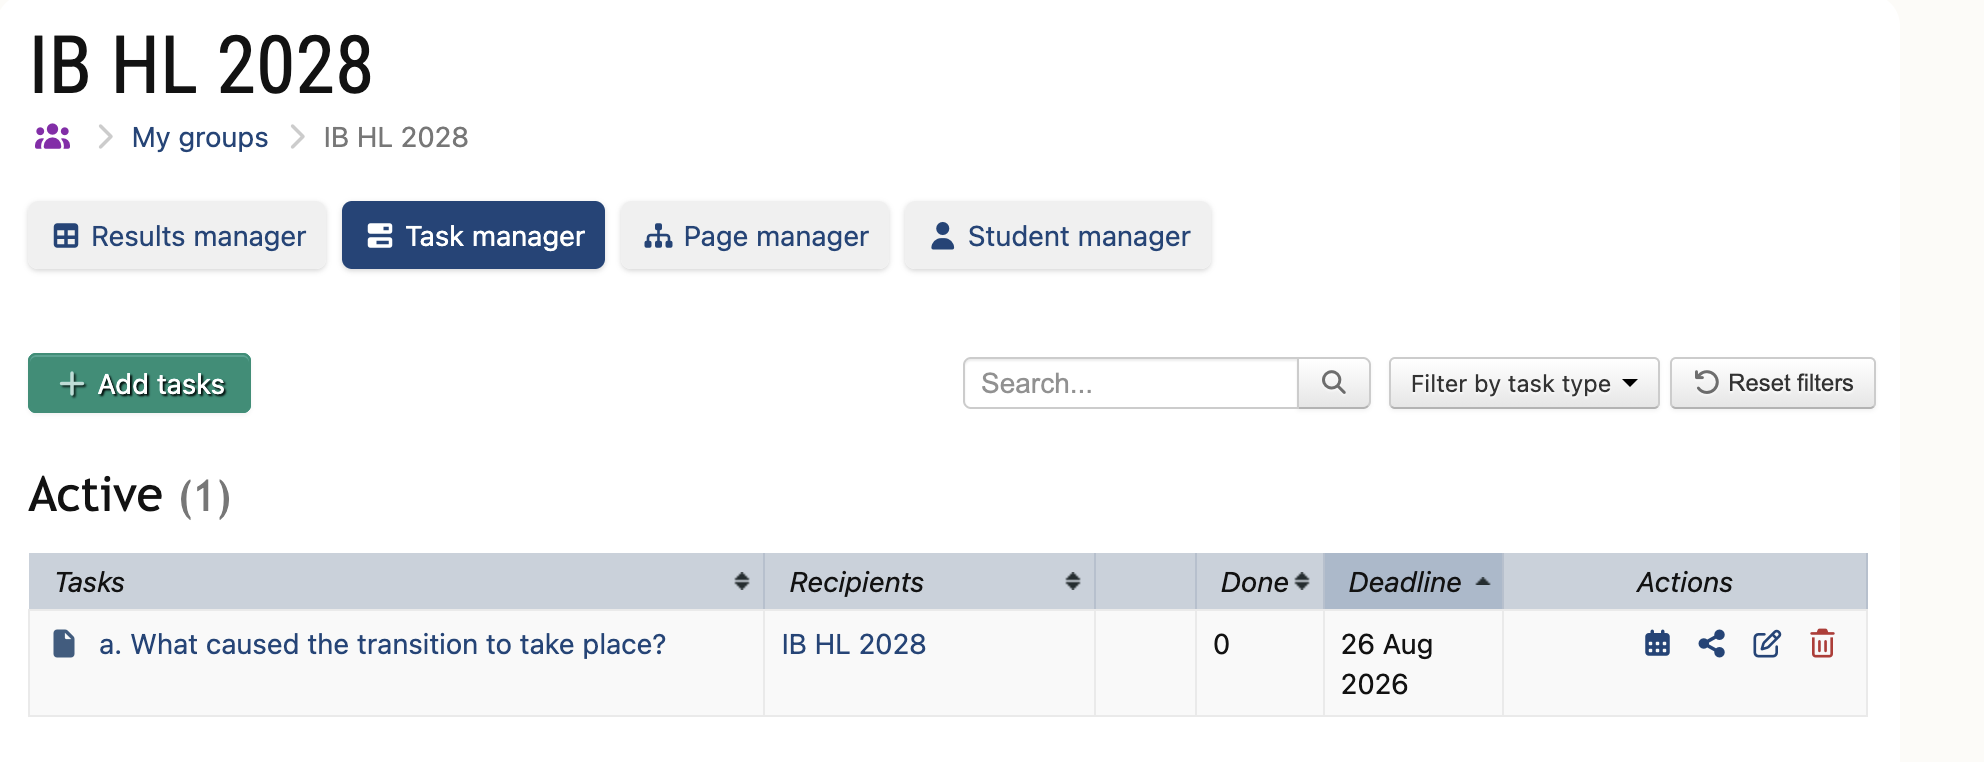
Step 8. The task now appears in the teacher's task list for this group
Step 9. After they log in students will see the task on their student dashboard
Clicking on the task will take them directly to it.